Simple Tips About How To Build A Balinese Hut

How To Build A Bali Hut - Youtube

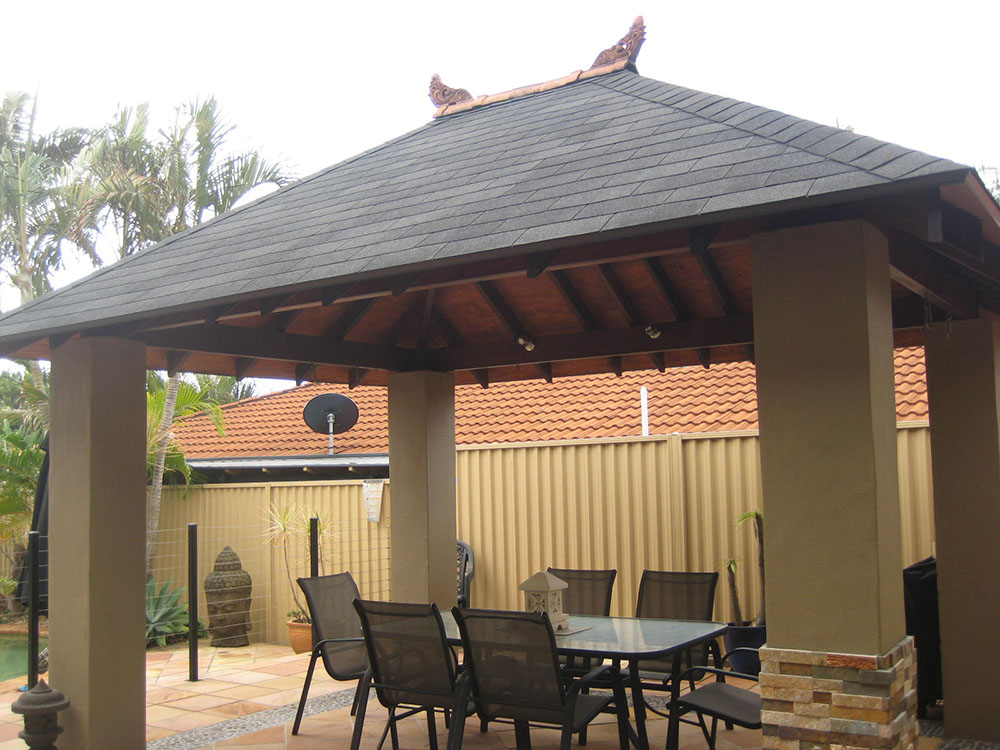
Pin On Palomo

Diy Hut & Patio Kits - Easy To Build, Pre Cut Materials: Bali Thatch, Colorbond Or Shingle Roof Youtube
100% Waterproof Bali Hut Kits For Diy Enthusiasts In Perth
Diy Bali Huts - Gazebo &

Diy Bali Huts - Youtube

Kits available in various different sizes ready to install.
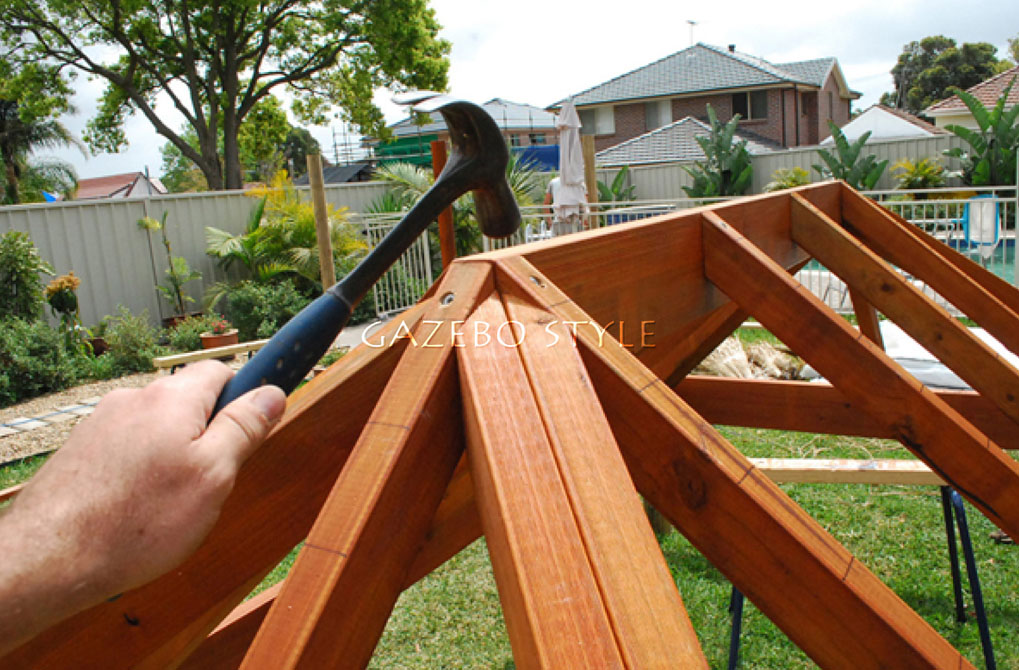
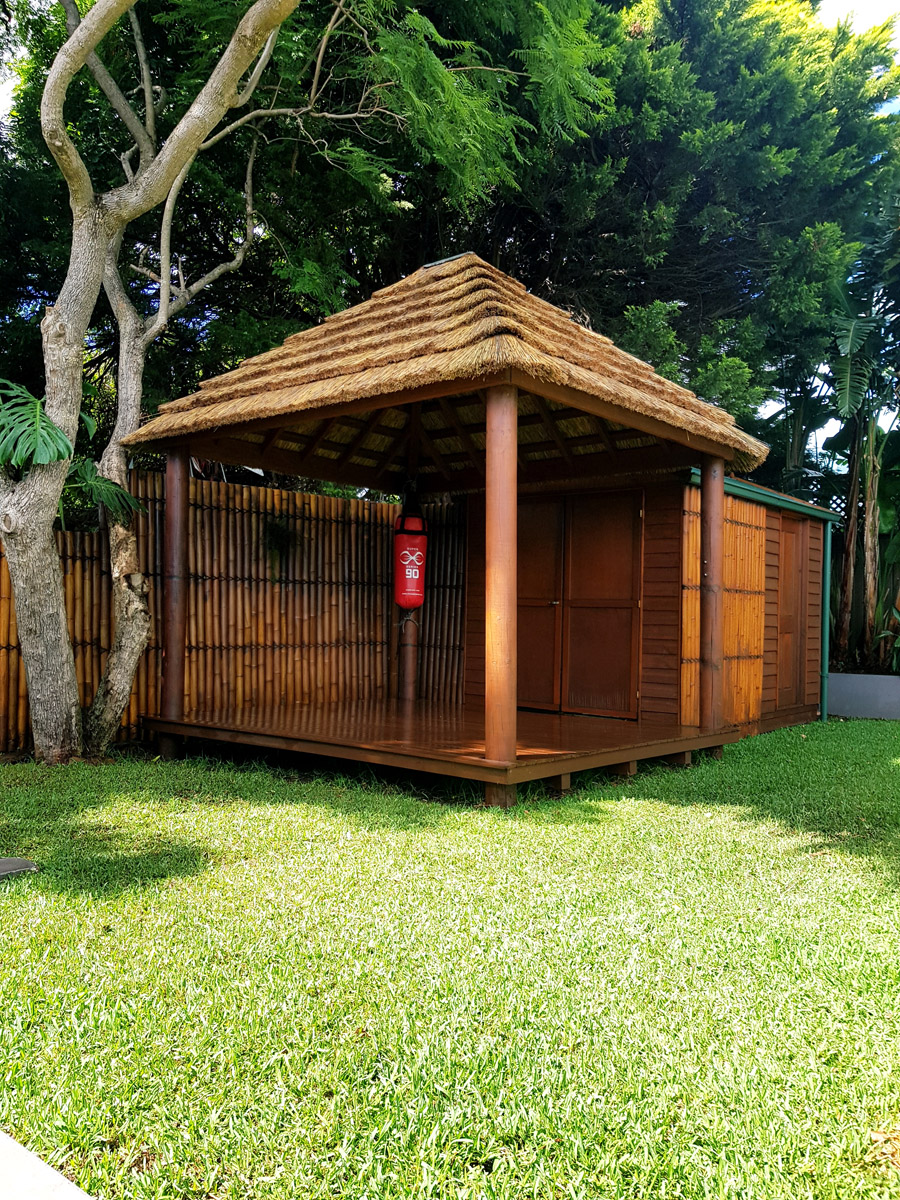
How to build a balinese hut. Standard sizes include :2m x 2m, 2.5m x 2.5m, 3m x 3m, 3.5m x 3.5m, 4m x 4m,4.5m x4.5m, 5m x5m, 6m x6m other. Cover the top of the roof with a good ridge capping or crown. It’s never smart to start building something without having a plan in mind.
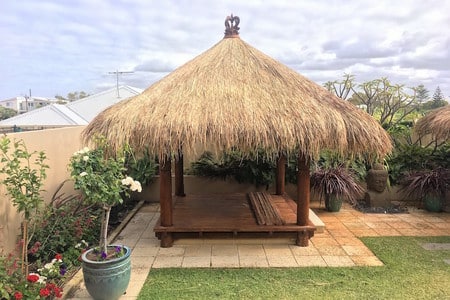
Begin the layering process of the thatch strips at the bottom of the roof structure, adjacent to the fascia. Decide on your perfect garden location and we will design and build your hut to suit. Pick your size, style and finish to suit your space.
Collect your tools and materials. 1) begin by laying 2 posts on the ground, with their bases at the desired location. The ridge beam extends past the edge of the hut roof and has a decorative end.
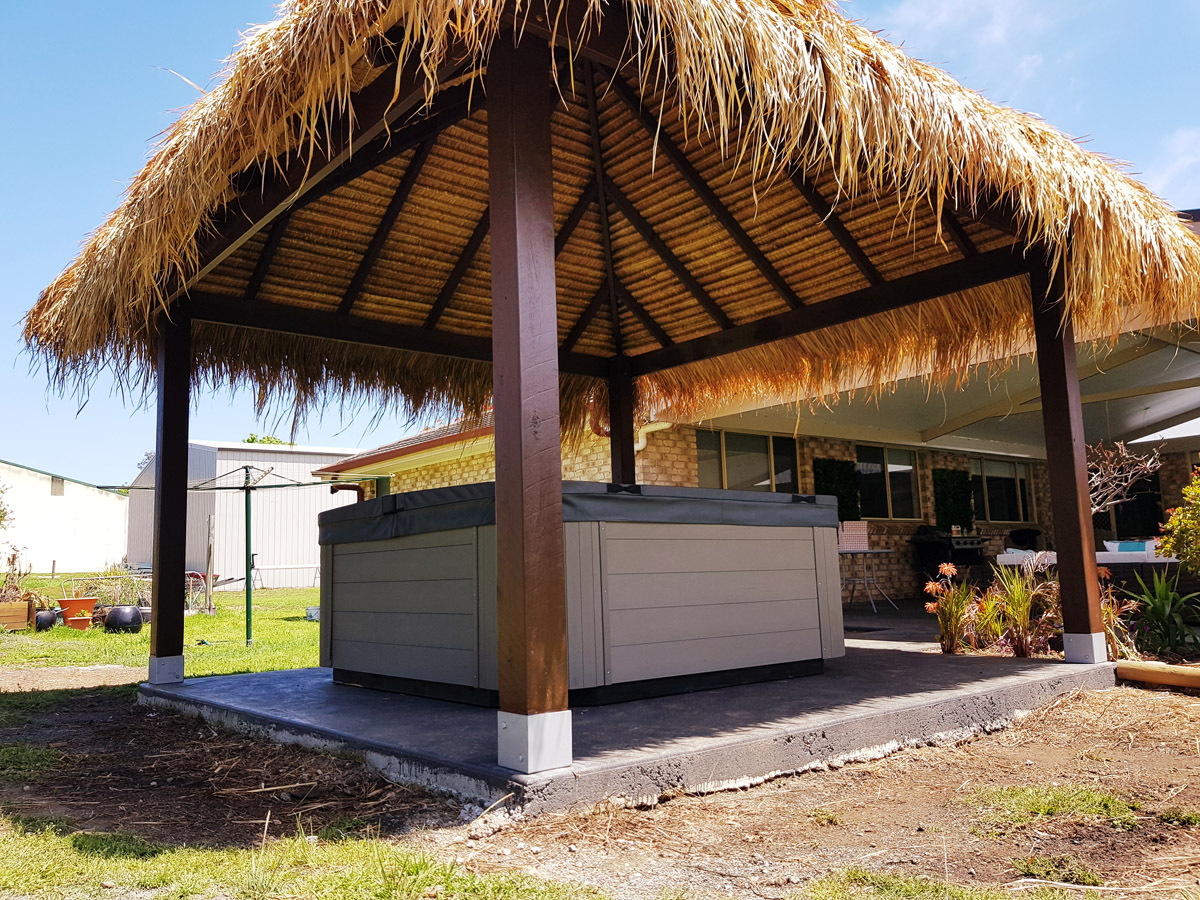
The bali huts are 100% waterproof, guaranteed. Also build the ridge up high and double the mudbugs if you can. Some classic balinese ridge beam cut templates are below.
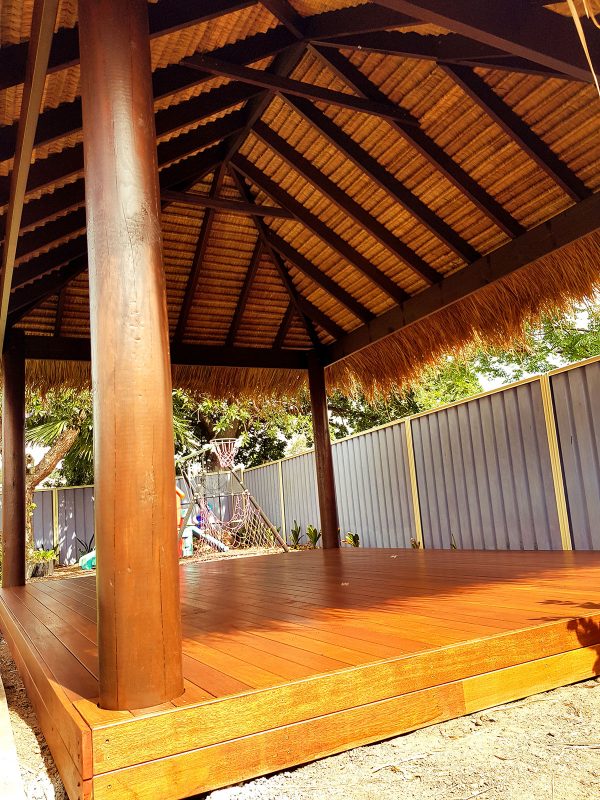
40 degree roof pitch for longevity and a stunningly high, beautiful interior. Perfect for adding a bit of shelter and a place to relax, our bali thatch huts and african thatch huts are just what. 2) lay 1 ring beam across the top of the 2 posts, ensuring that the post is perpendicular (90° to the ring.
If you want a deck, we can build that too. How do you install a bali hut? This article recommends top 10 options!

Diy Kits
Diy Bali Huts - Gazebo &

Building The Frame For Bali Hut Bed - Youtube
Diy Kits

How To Install Bali Hut Start Finished - Youtube
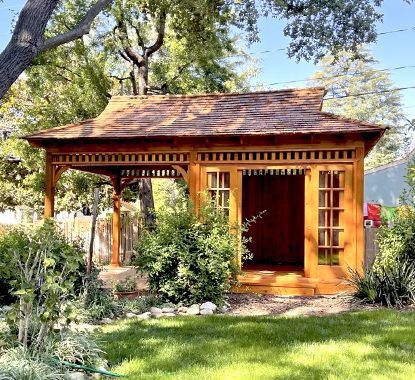
Bali Tea House: Japanese Style Gazebo | Summerwood Products
African Huts - Diy Gazebo & Bali

Garden Cabana | Balinese Hut Design - Youtube
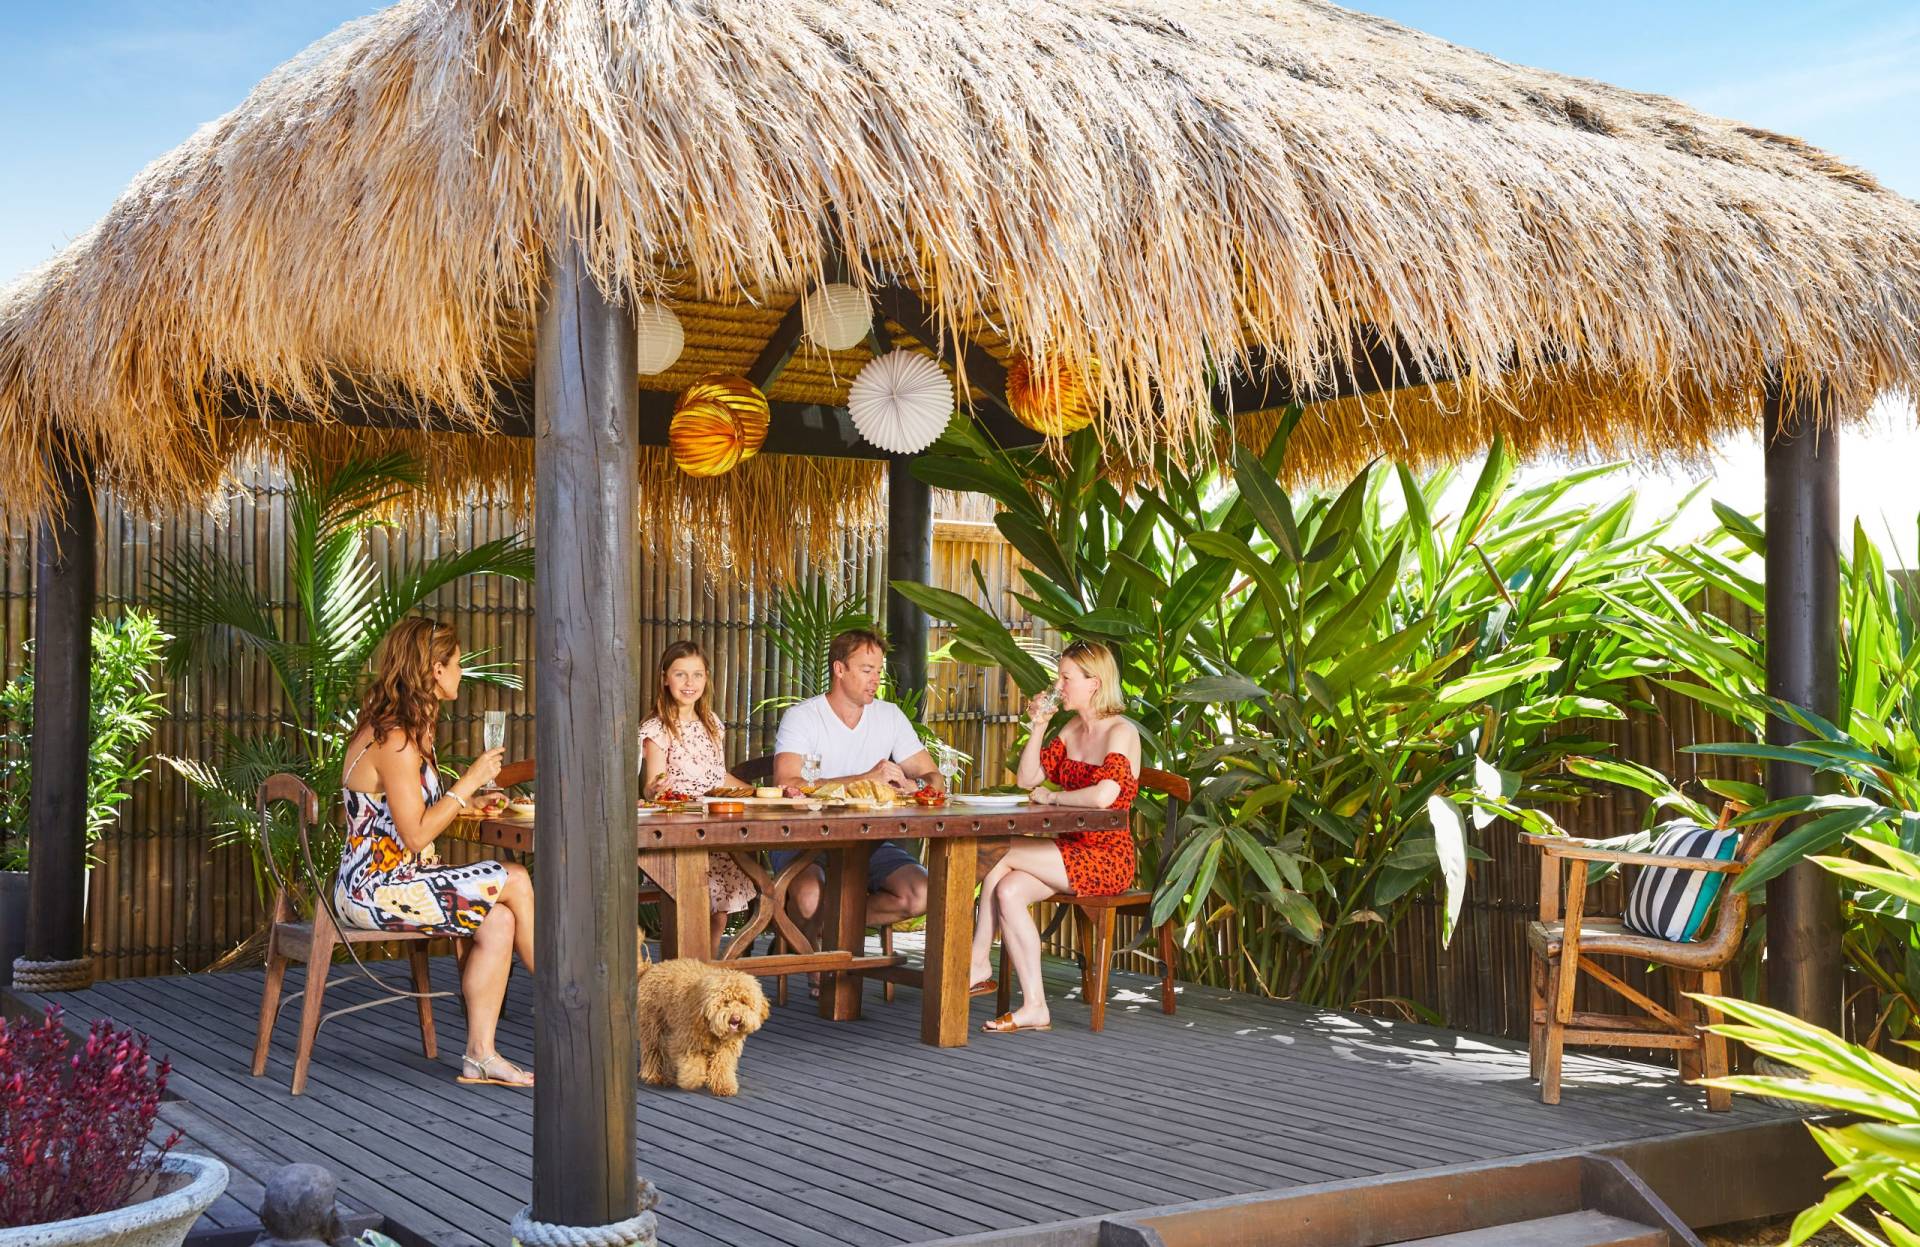
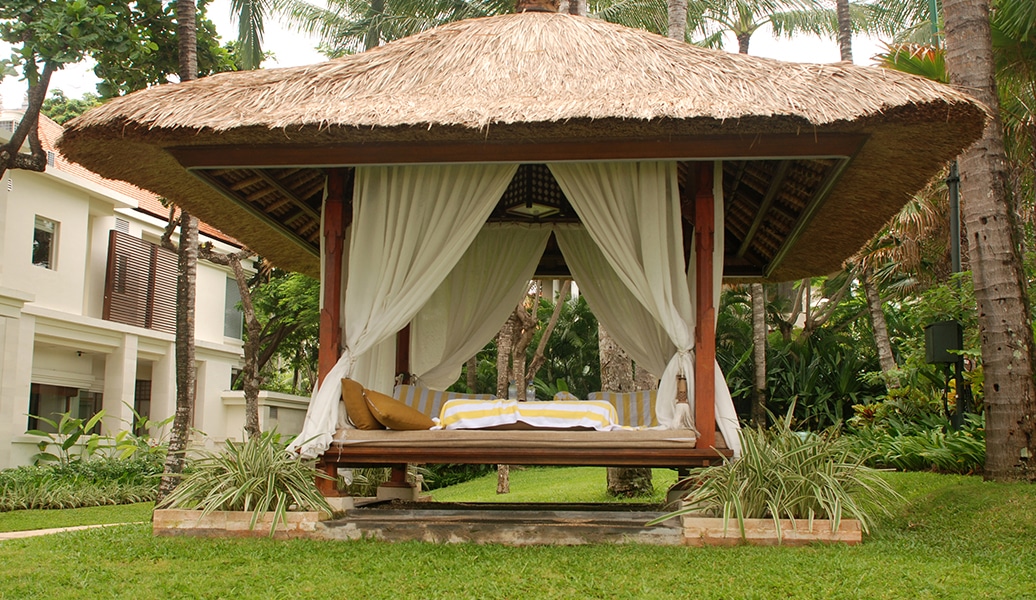
Bali Huts For Entertaining And Relaxing - Aarons Outdoor

Bali Hut - Home
Bali Huts Thatched Roof Replacement | Asphalt Shingle Gazebo Kits

Bali Huts - Home